Picomoro - Pomodoro Timer

Starting the year 2023 with productivity in mind. I've always been fan of different techniques to gain better focus for tasks at hand. Pomodoro technique is interesting and I've always liked physical productivity gear over software apps.
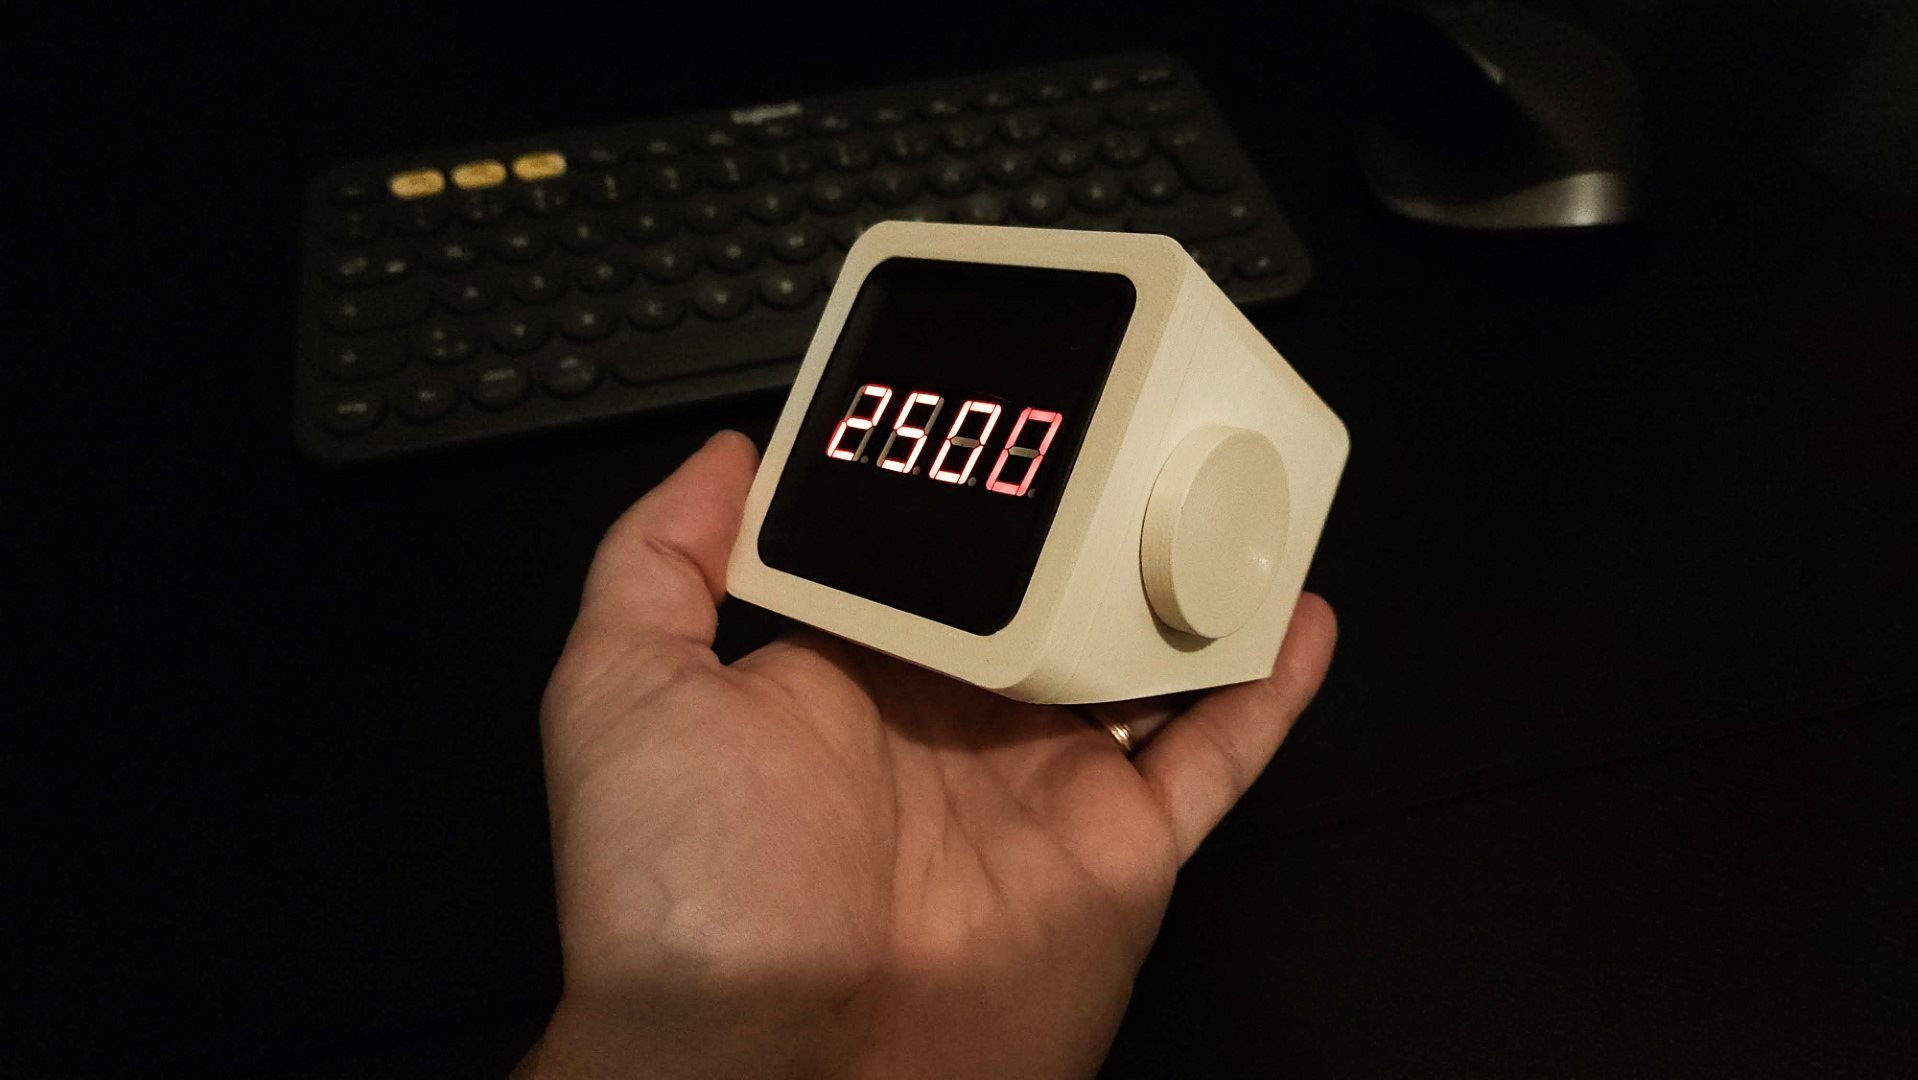
Therefore, I took as a task to design and build Picomoro - a small pomodoro timer powered by Raspberry Pi Pico. Designed as cubelike case with Fusion 360 and printed with Prusa Mini. Here are the steps if you'd also like to build one or use it as a basis for something more exciting, like smart clock etc.
TL;DR Checkout source code at GitHub, 3D printable case at Printables.com
Pomodoro Technique
Wikipedia describes Pomodoro technique like this:
The original technique has six steps:
1. Decide on the task to be done.
2. Set the pomodoro timer (typically for 25 minutes).
3. Work on the task.
4. End work when the timer rings and take a short break (typically 5–10 minutes).
5. If you have finished fewer than three pomodoros, go back to Step 2 and repeat until you go through all three pomodoros.
6. After three pomodoros are done, take the fourth pomodoro and then take a long break (typically 20 to 30 minutes). Once the long break is finished, return to step 2.
For the purposes of the technique, a pomodoro is an interval of work time.
Functional Requirements
I started the design with my additional technical requirements. Timer should have:
- Display for displaying minutes and seconds
- Button or dial to change the initial time and start the timer
- Buzzer to notify that time is up
- Timer can be powered by USB cable
Bill of Material
From the requirements I ended up with the following components. Mostly built with components that I had laying around:
- Raspberry Pi Pico - small and powerful microcontroller that can be programmed with many languages, including Micropython
- SMA420564 - Four Digit Seven Segment LED Display 0.56"
- Mini on/off rocker switch (this in Amazon.de or this could be the same in Aliexpress)
- 4 x 220 Ohm resistors
- KY-006 Piezoelectric buzzer
- KY-040 Rotary Encoder
- 3 AA batteries
- on/off switch
Schematic
Here's a schematic on how I connected the components together. Instead of 5V battery I used three normal AA batteries in series (~ 4.5V). As stated here, Pico can be safely powered with voltage between 1.8V and 5.5V. I added 220 Ohm resistors for the display to limit the current for digit displays. It seems to work without those but didn't like to test if it breaks something eventually when running for a long time.

Case
It was fun to design this. I wanted it to have retro feel and look like a bedside clock. Case design should still have enough space to fit everything inside without special arrangements with the circuitry.
So, I produced this cubelike shape but with a twist so that the bottom is cut in a way that display rotates a bit upwards for easier reading.
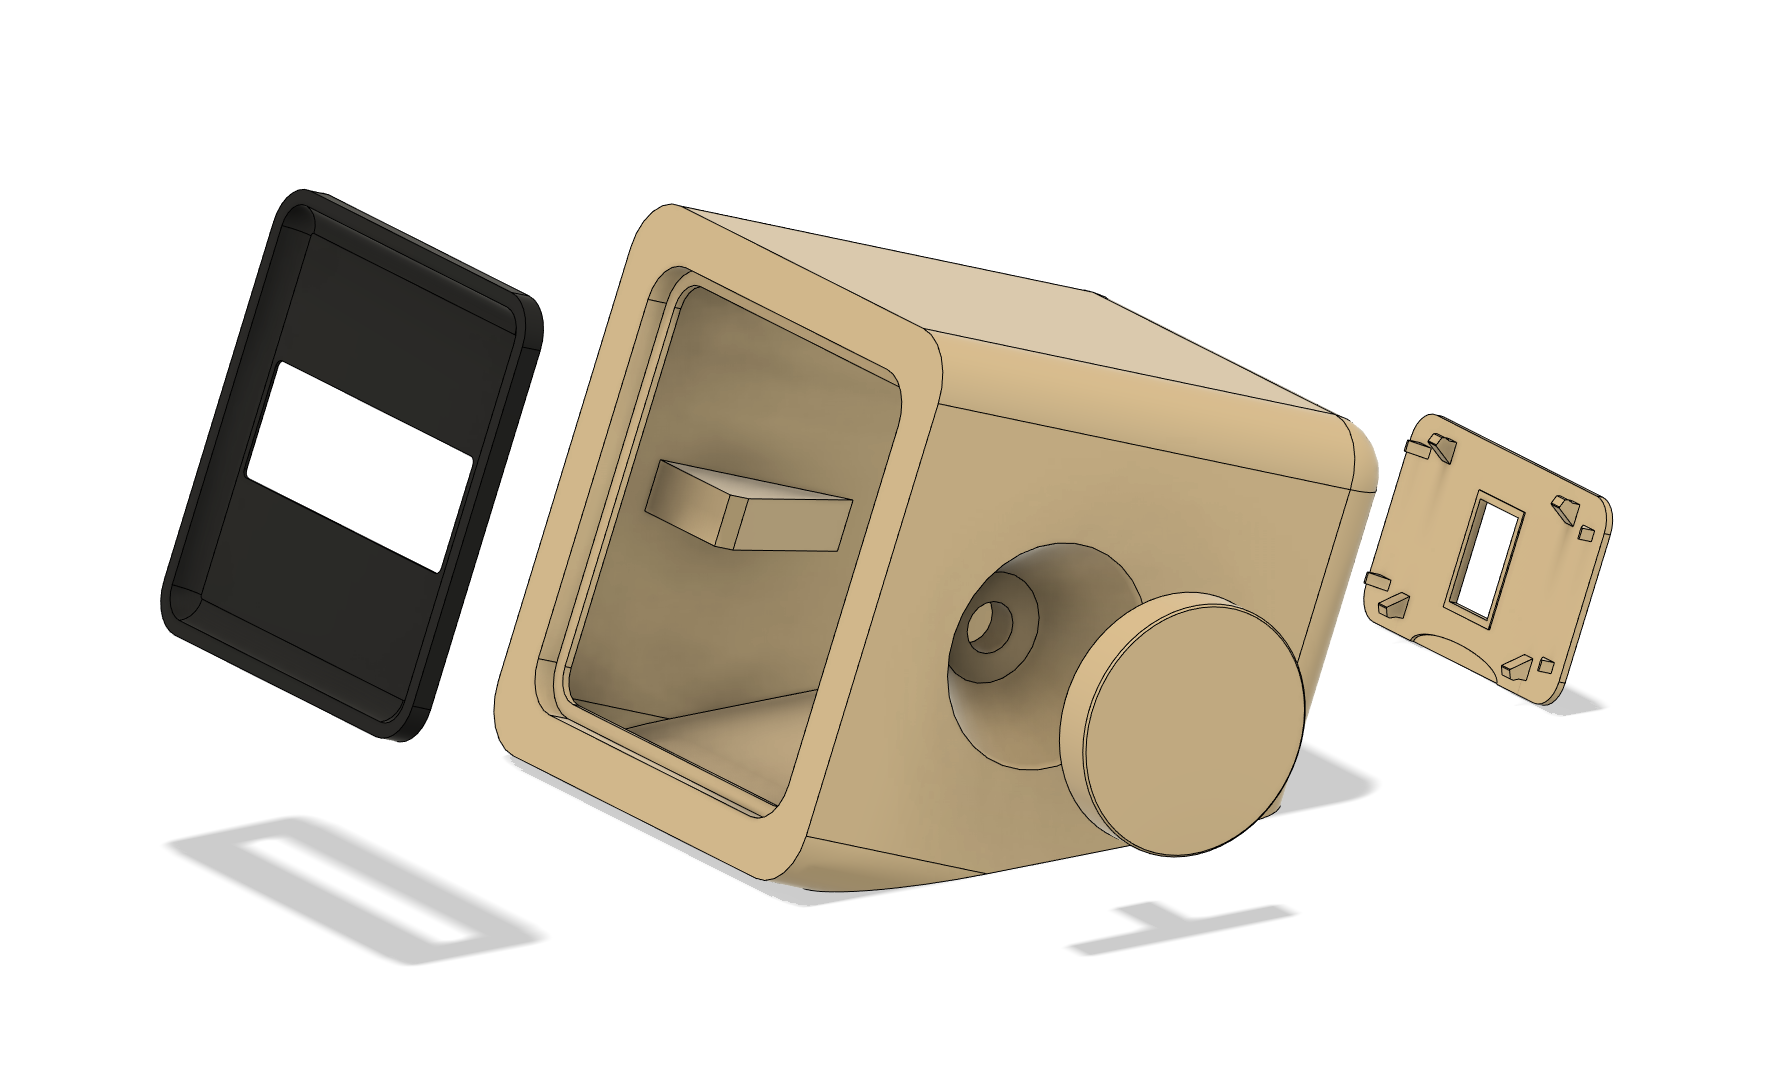
Retrospect: a better placement for rotary dial could have been on the top as one of the functionalities is to press the dial and it now needs to be held from the other side if you press the dial - otherwise it would slide on the desk as it's so light.
3D printing the case
Printed the case parts from two different PLAs. The display cover with matte black PLA and dial, case and back cover with beige PLA that reminds me of good old Commodore 64 and Amiga case colors.
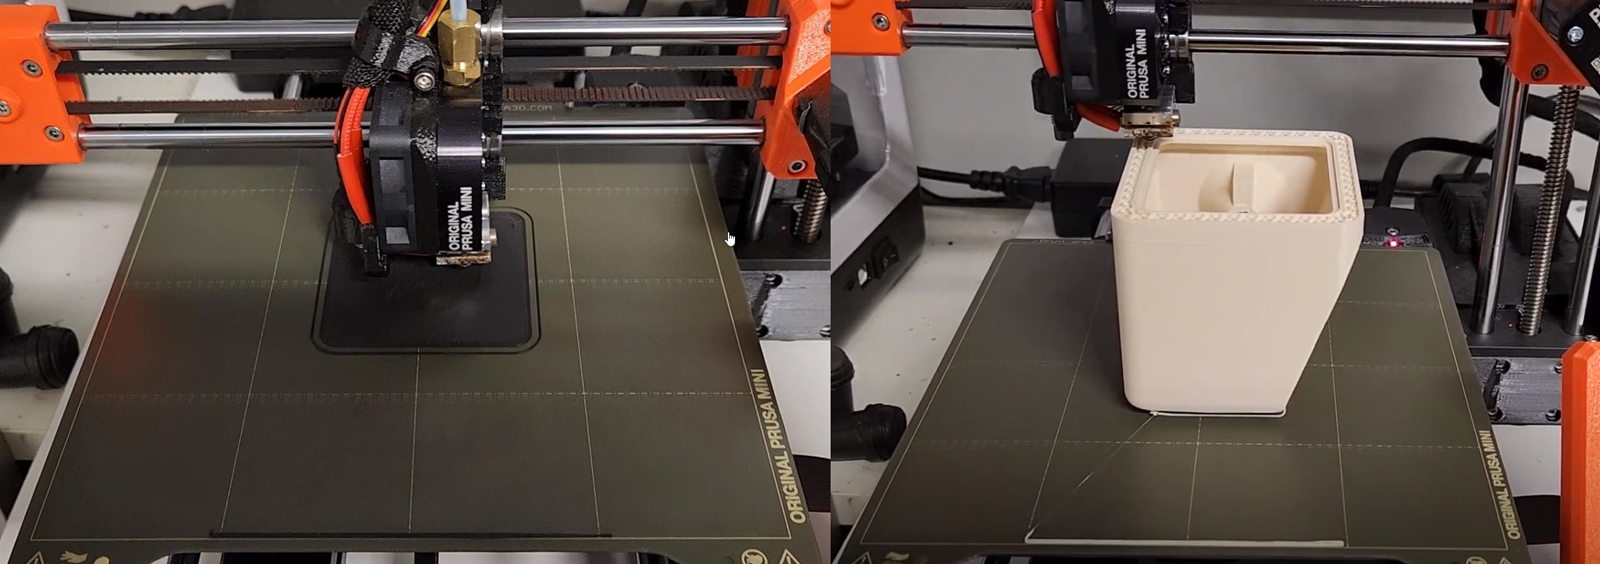
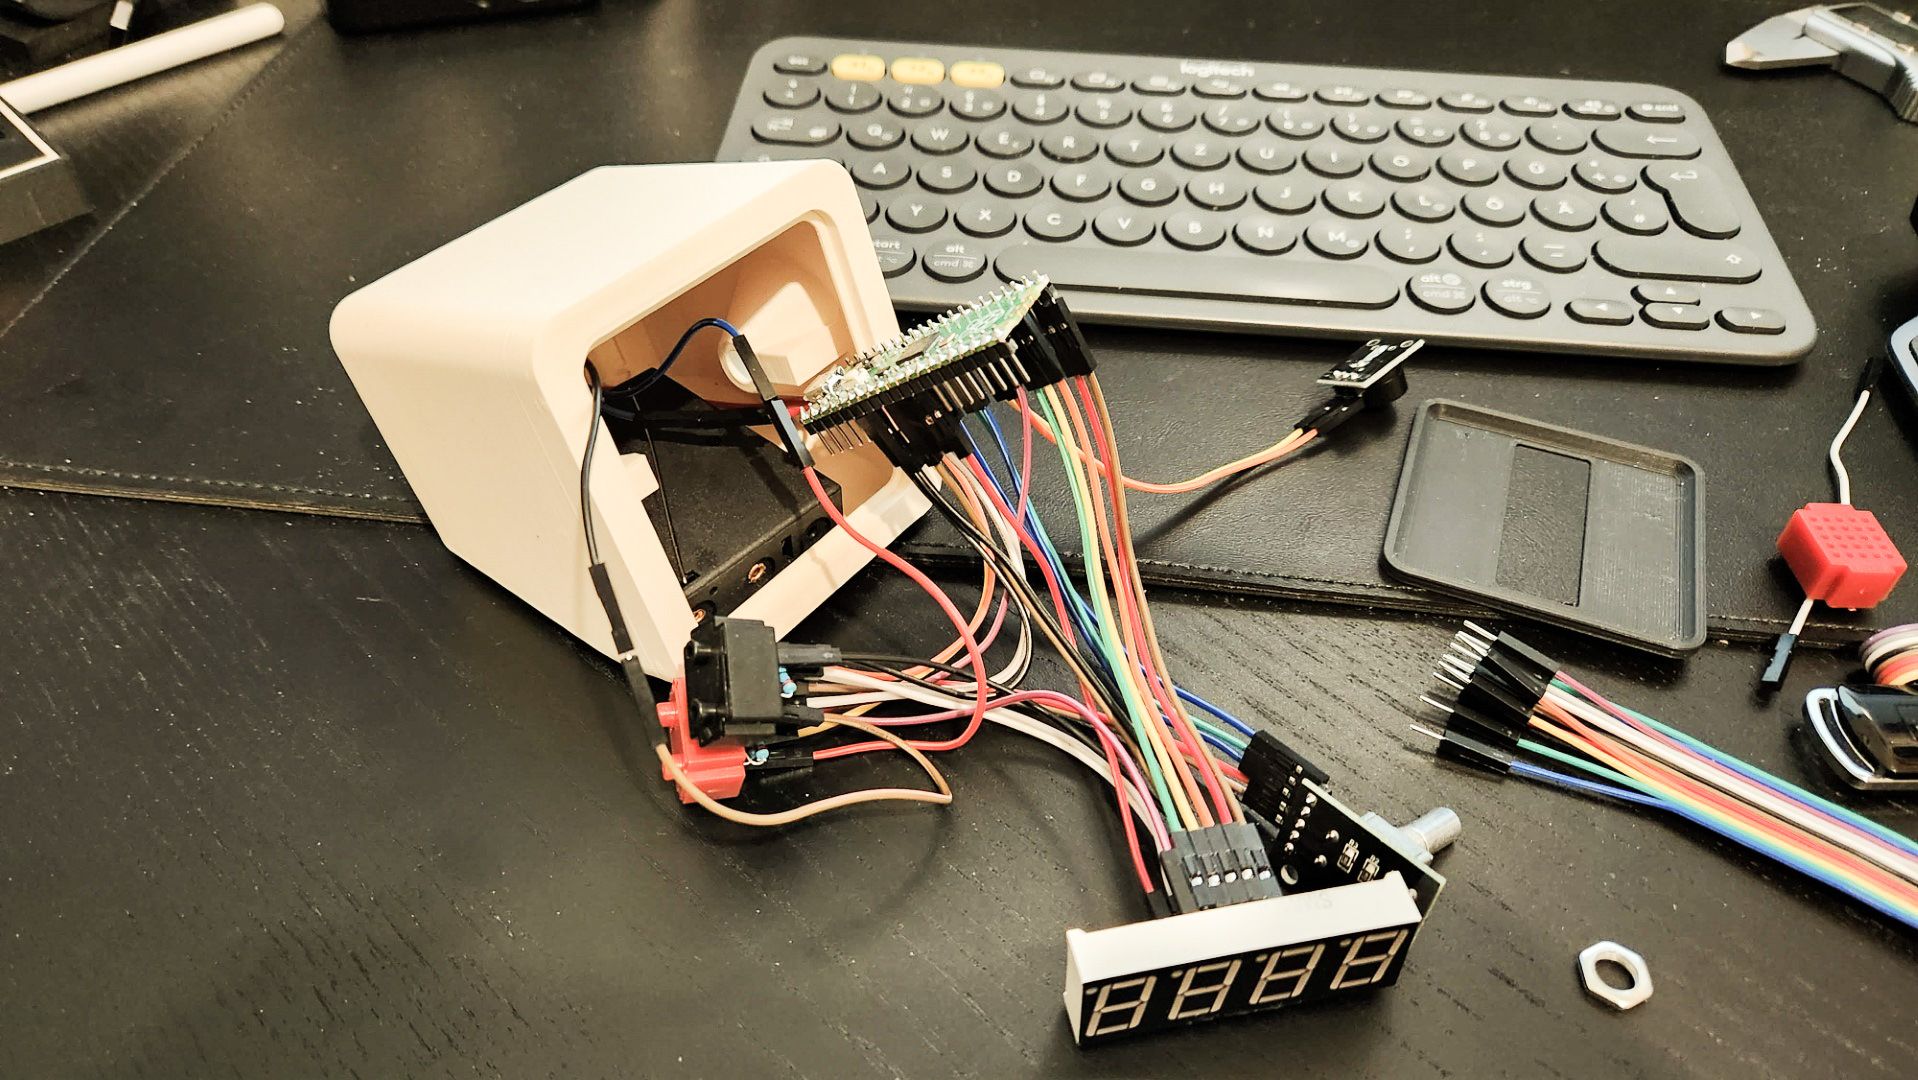
Final tests before closing the enclosure.
Code
I wrote the actual logic for Raspberry Pi Pico with Micropython. Basic logic is that timer counts down and displays the remaining time. The rotary encoder can control the initial time which defaults to Pomodoro's 25 minutes but can be adjusted by turning the knob either clockwise (increase minutes) or counterclockwise (decrease minutes). When the knob is pressed the timer starts.
Buzzer is used for notifying user that knob controls are acknowledged. The buzzer will also beep when the timer runs to zero.
Full code is only a bit under 250 lines of code:
import time
import micropython
import uasyncio as asyncio
from machine import Pin, PWM

class Rotary:

  ROT_CW = 1
  ROT_CCW = 2
  SW_PRESS = 4
  SW_RELEASE = 8

  def __init__(self,dt,clk,sw):
    self.dt_pin = Pin(dt, Pin.IN, Pin.PULL_DOWN)
    self.clk_pin = Pin(clk, Pin.IN, Pin.PULL_DOWN)
    self.sw_pin = Pin(sw, Pin.IN, Pin.PULL_DOWN)
    self.last_status = (self.dt_pin.value() << 1) | self.clk_pin.value()
    self.dt_pin.irq(handler=self.rotary_change, trigger=Pin.IRQ_FALLING | Pin.IRQ_RISING )
    self.clk_pin.irq(handler=self.rotary_change, trigger=Pin.IRQ_FALLING | Pin.IRQ_RISING )
    self.sw_pin.irq(handler=self.switch_detect, trigger=Pin.IRQ_FALLING | Pin.IRQ_RISING )
    self.handlers = []
    self.last_button_status = self.sw_pin.value()

  def rotary_change(self, pin):
    new_status = (self.dt_pin.value() << 1) | self.clk_pin.value()
    if new_status == self.last_status:
      return
    transition = (self.last_status << 2) | new_status
    if transition == 0b1110:
      micropython.schedule(self.call_handlers, Rotary.ROT_CW)
    elif transition == 0b1101:
      micropython.schedule(self.call_handlers, Rotary.ROT_CCW)
    self.last_status = new_status

  def switch_detect(self,pin):
    if self.last_button_status == self.sw_pin.value():
      return
    self.last_button_status = self.sw_pin.value()
    if self.sw_pin.value():
      micropython.schedule(self.call_handlers, Rotary.SW_RELEASE)
    else:
      micropython.schedule(self.call_handlers, Rotary.SW_PRESS)

  def add_handler(self, handler):
    self.handlers.append(handler)

  def call_handlers(self, type):
    for handler in self.handlers:
        handler(type)

buzzer = PWM(Pin(22))
async def beep():
  buzzer.freq(600)
  buzzer.duty_u16(200)
  await asyncio.sleep(0.2)
  buzzer.deinit()

async def upBeep():
  buzzer.freq(800)
  buzzer.duty_u16(100)
  await asyncio.sleep(0.1)
  buzzer.deinit()

async def downBeep():
  buzzer.freq(500)
  buzzer.duty_u16(100)
  await asyncio.sleep(0.1)
  buzzer.deinit()

async def buzz():
  buzzer.freq(400)
  buzzer.duty_u16(200)
  await asyncio.sleep(0.1)
  buzzer.freq(800)
  buzzer.duty_u16(400)
  await asyncio.sleep(0.2)
  buzzer.freq(600)
  buzzer.duty_u16(200)
  await asyncio.sleep(0.1)
  buzzer.deinit()

DT_PIN = 27
CLK_PIN = 28
SW_PIN = 26

rotary = Rotary(DT_PIN, CLK_PIN, SW_PIN)
rotaryValue = 0
# Default countdown time 25 minutes in seconds
countdown = 25 * 60
isActive = False

def rotary_changed(change):
  global rotaryValue
  global countdown
  global isActive
  if change == Rotary.ROT_CW:
    asyncio.run(upBeep())
    countdown += 60
    # round countdown to nearest minute
    countdown = countdown - (countdown % 60)
    isActive = False
    rotaryValue += 1
    print("Rotary CW", rotaryValue)
  elif change == Rotary.ROT_CCW:
    asyncio.run(downBeep())
    if(countdown>60):
      countdown -= 60
    # round countdown to nearest minute
    countdown = countdown - (countdown % 60)
    isActive = False

    rotaryValue -= 1
    print("Rotary CCW", rotaryValue)
  elif change == Rotary.SW_PRESS:
    if(countdown<=0):
      countdown = 25 * 60
    else:
      isActive = True
    asyncio.run(beep())
  elif change == Rotary.SW_RELEASE:
    print("Switch released")

rotary.add_handler(rotary_changed)

# SMA420564 pinout mapping to GPIO pins
pin = [
  # Top row
  Pin(4, Pin.OUT), # GP4 through 220 Ohm resistor
  Pin(5, Pin.OUT), # GP5
  Pin(6, Pin.OUT), # GP6
  Pin(7, Pin.OUT), # GP7 through 220 Ohm resistor
  Pin(8, Pin.OUT), # GP8 through 220 Ohm resistor
  Pin(9, Pin.OUT), # GP9

  # Bottom row
  Pin(16, Pin.OUT), # GP16
  Pin(17, Pin.OUT), # GP17
  Pin(18, Pin.OUT), # GP18
  Pin(19, Pin.OUT), # GP19
  Pin(20, Pin.OUT), # GP20
  Pin(21, Pin.OUT)  # GP21 through 220 Ohm resistor
]

buzz()
time.sleep(1)
beep()

def getGND(place):
  p = 0
  if place == 1:
    p = 0
  elif place == 2:
    p = 3
  elif place == 3:
    p = 4
  elif place == 4:
    p = 11
  else:
    return None
  return p

pin1digits = [0, 2, 3, 5, 6, 7, 8, 9]
pin2digits = [0, 4, 5, 6, 8, 9]
pin5digits = [0, 1, 2, 3, 4, 7, 8, 9]
pin6digits = [0, 2, 6, 8]
pin7digits = [0, 2, 3, 5, 6, 8]
pin9digits = [0, 1, 3, 4, 5, 6, 7, 8, 9]
pin10digits = [2, 3, 4, 5, 6, 8, 9]

# Draw two lines when timer is idle
def displayIdle():
  pin[3].off()
  pin[4].off()
  pin[10].on()

def display(digit,place):
  gnd = getGND(place)
  pin[gnd].off()
  if digit in pin1digits:
    pin[1].on()
  if digit in pin2digits:
    pin[2].on()
  if digit in pin5digits:
    pin[5].on()
  if digit in pin6digits:
    pin[6].on()
  if digit in pin7digits:
    pin[7].on()
  if digit in pin9digits:
    pin[9].on()
  if digit in pin10digits:
    pin[10].on()
  time.sleep(0.002)
  pin[1].off()
  pin[2].off()
  pin[5].off()
  pin[6].off()
  pin[7].off()
  pin[9].off()
  pin[10].off()
  pin[gnd].on()

def cleanup():
  for i in [1,2,5,6,7,9,10]:
    pin[i].off()

def cleanupDigitPins():
    pin[0].on()
    pin[3].on()
    pin[4].on()
    pin[11].on()

cleanupDigitPins()

while True:
  minutes = countdown // 60
  seconds = countdown % 60

  # format minutes and seconds to 4 digits with leading zeros,
  # for example 8 minutes and 5 seconds will be 0805
  displayString = "{:02d}{:02d}".format(minutes, seconds)

  # display the time with digits
  # flicker the display 125 times per second to make it more visible
  if(countdown>0):
    for flicker in range(1,125):
        for displayIndex in range(1, 5):
          digit = int(displayString[displayIndex - 1])
          display(digit, displayIndex)
    if(isActive):
      countdown -= 1
  else:
    displayIdle()

  if(countdown == 0):
    buzz()
    time.sleep(1)
    countdown = -1
I used Thonny IDE to upload the code to Pico. Remember to name your file to main.py as then it will be automatically started even when Pico is not connected to computer or just powered with battery.
Finished
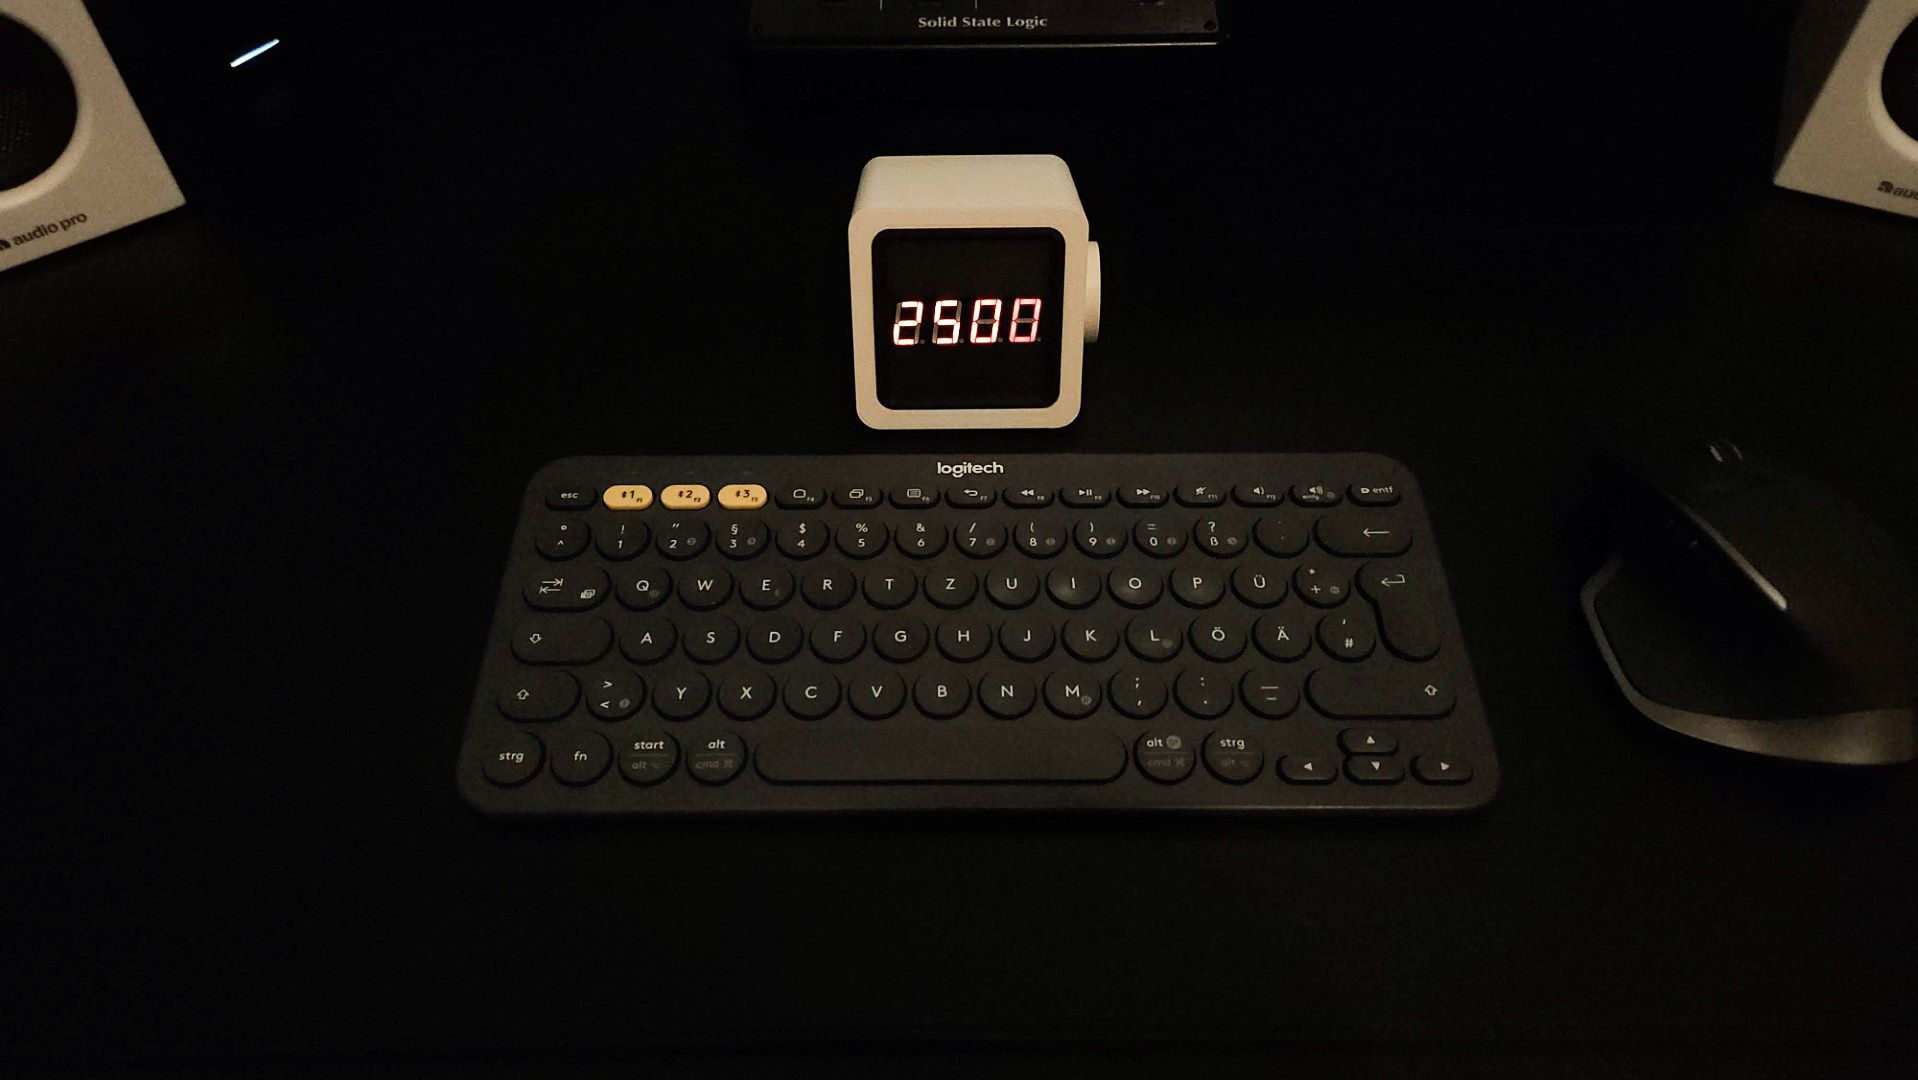
Now it sits on my desk and can be activated easily for Pomodoro tasks :)
Picomoro in action