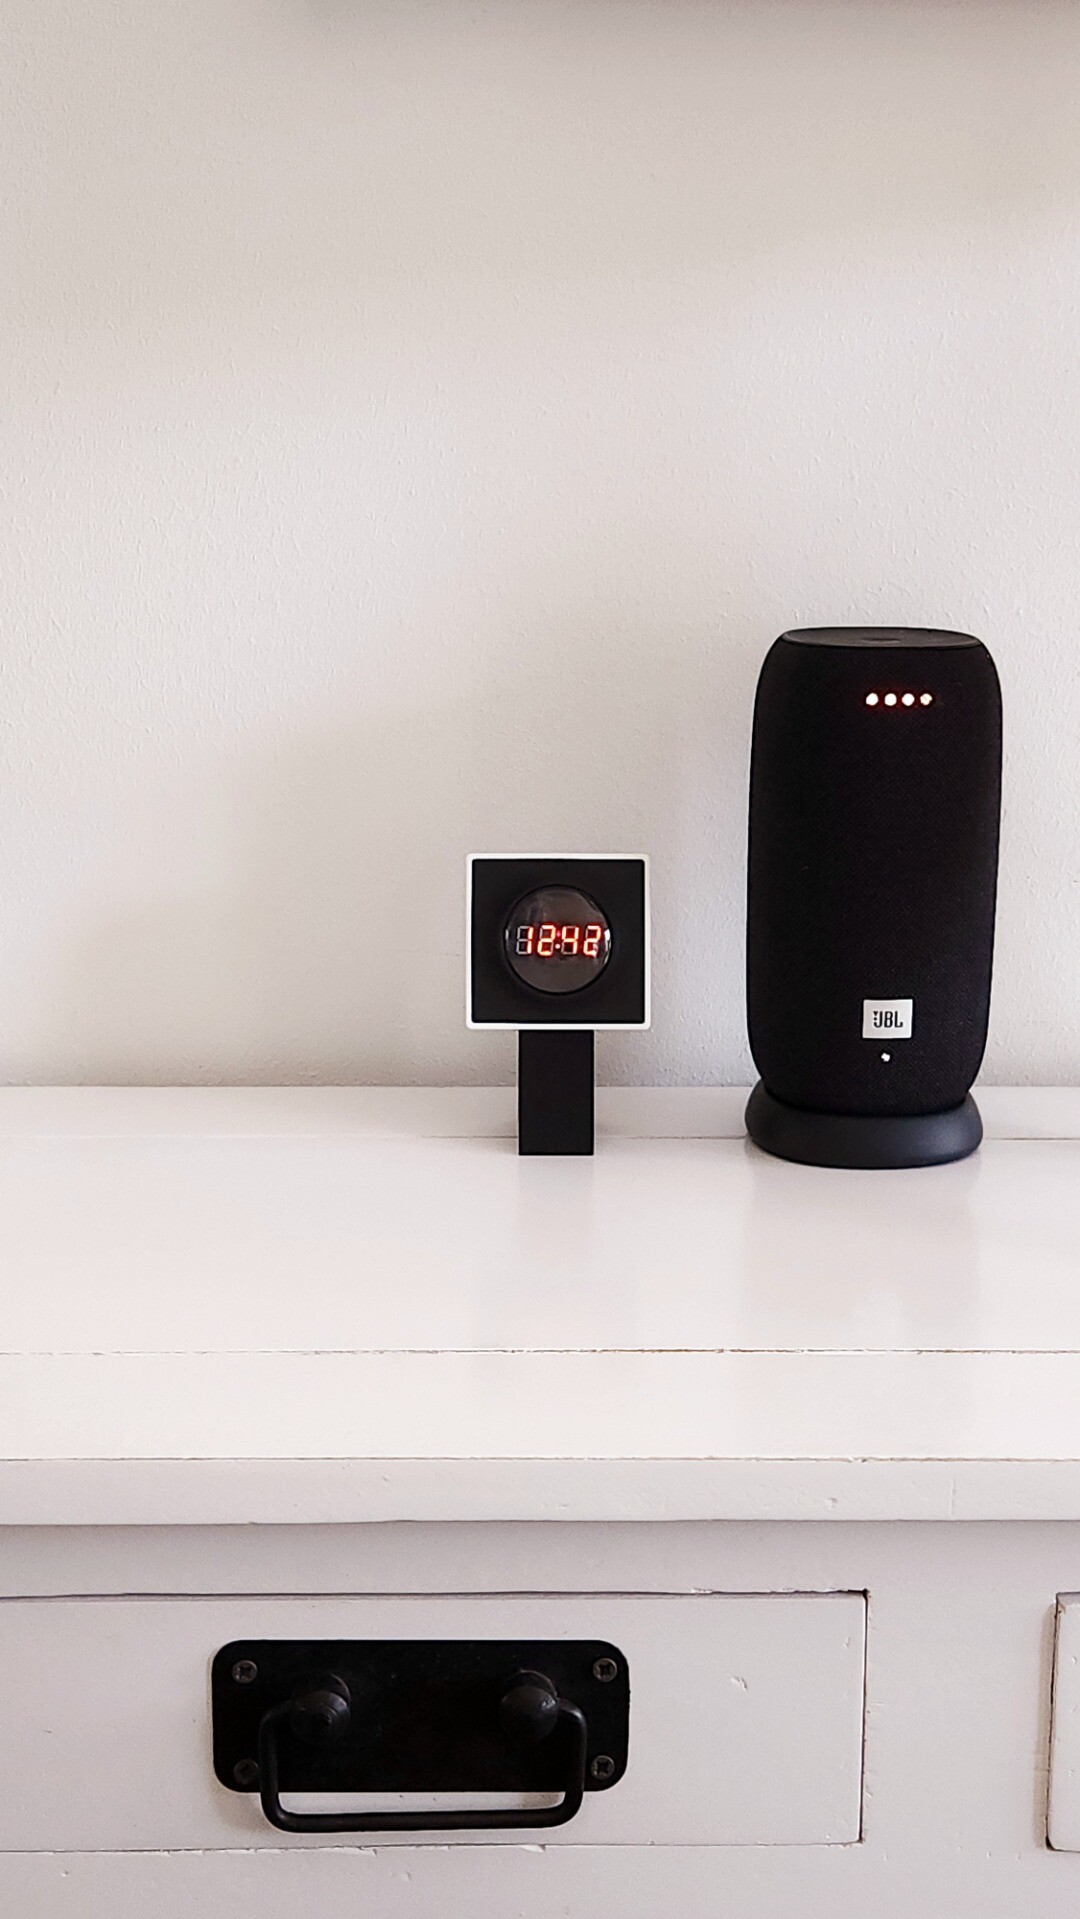
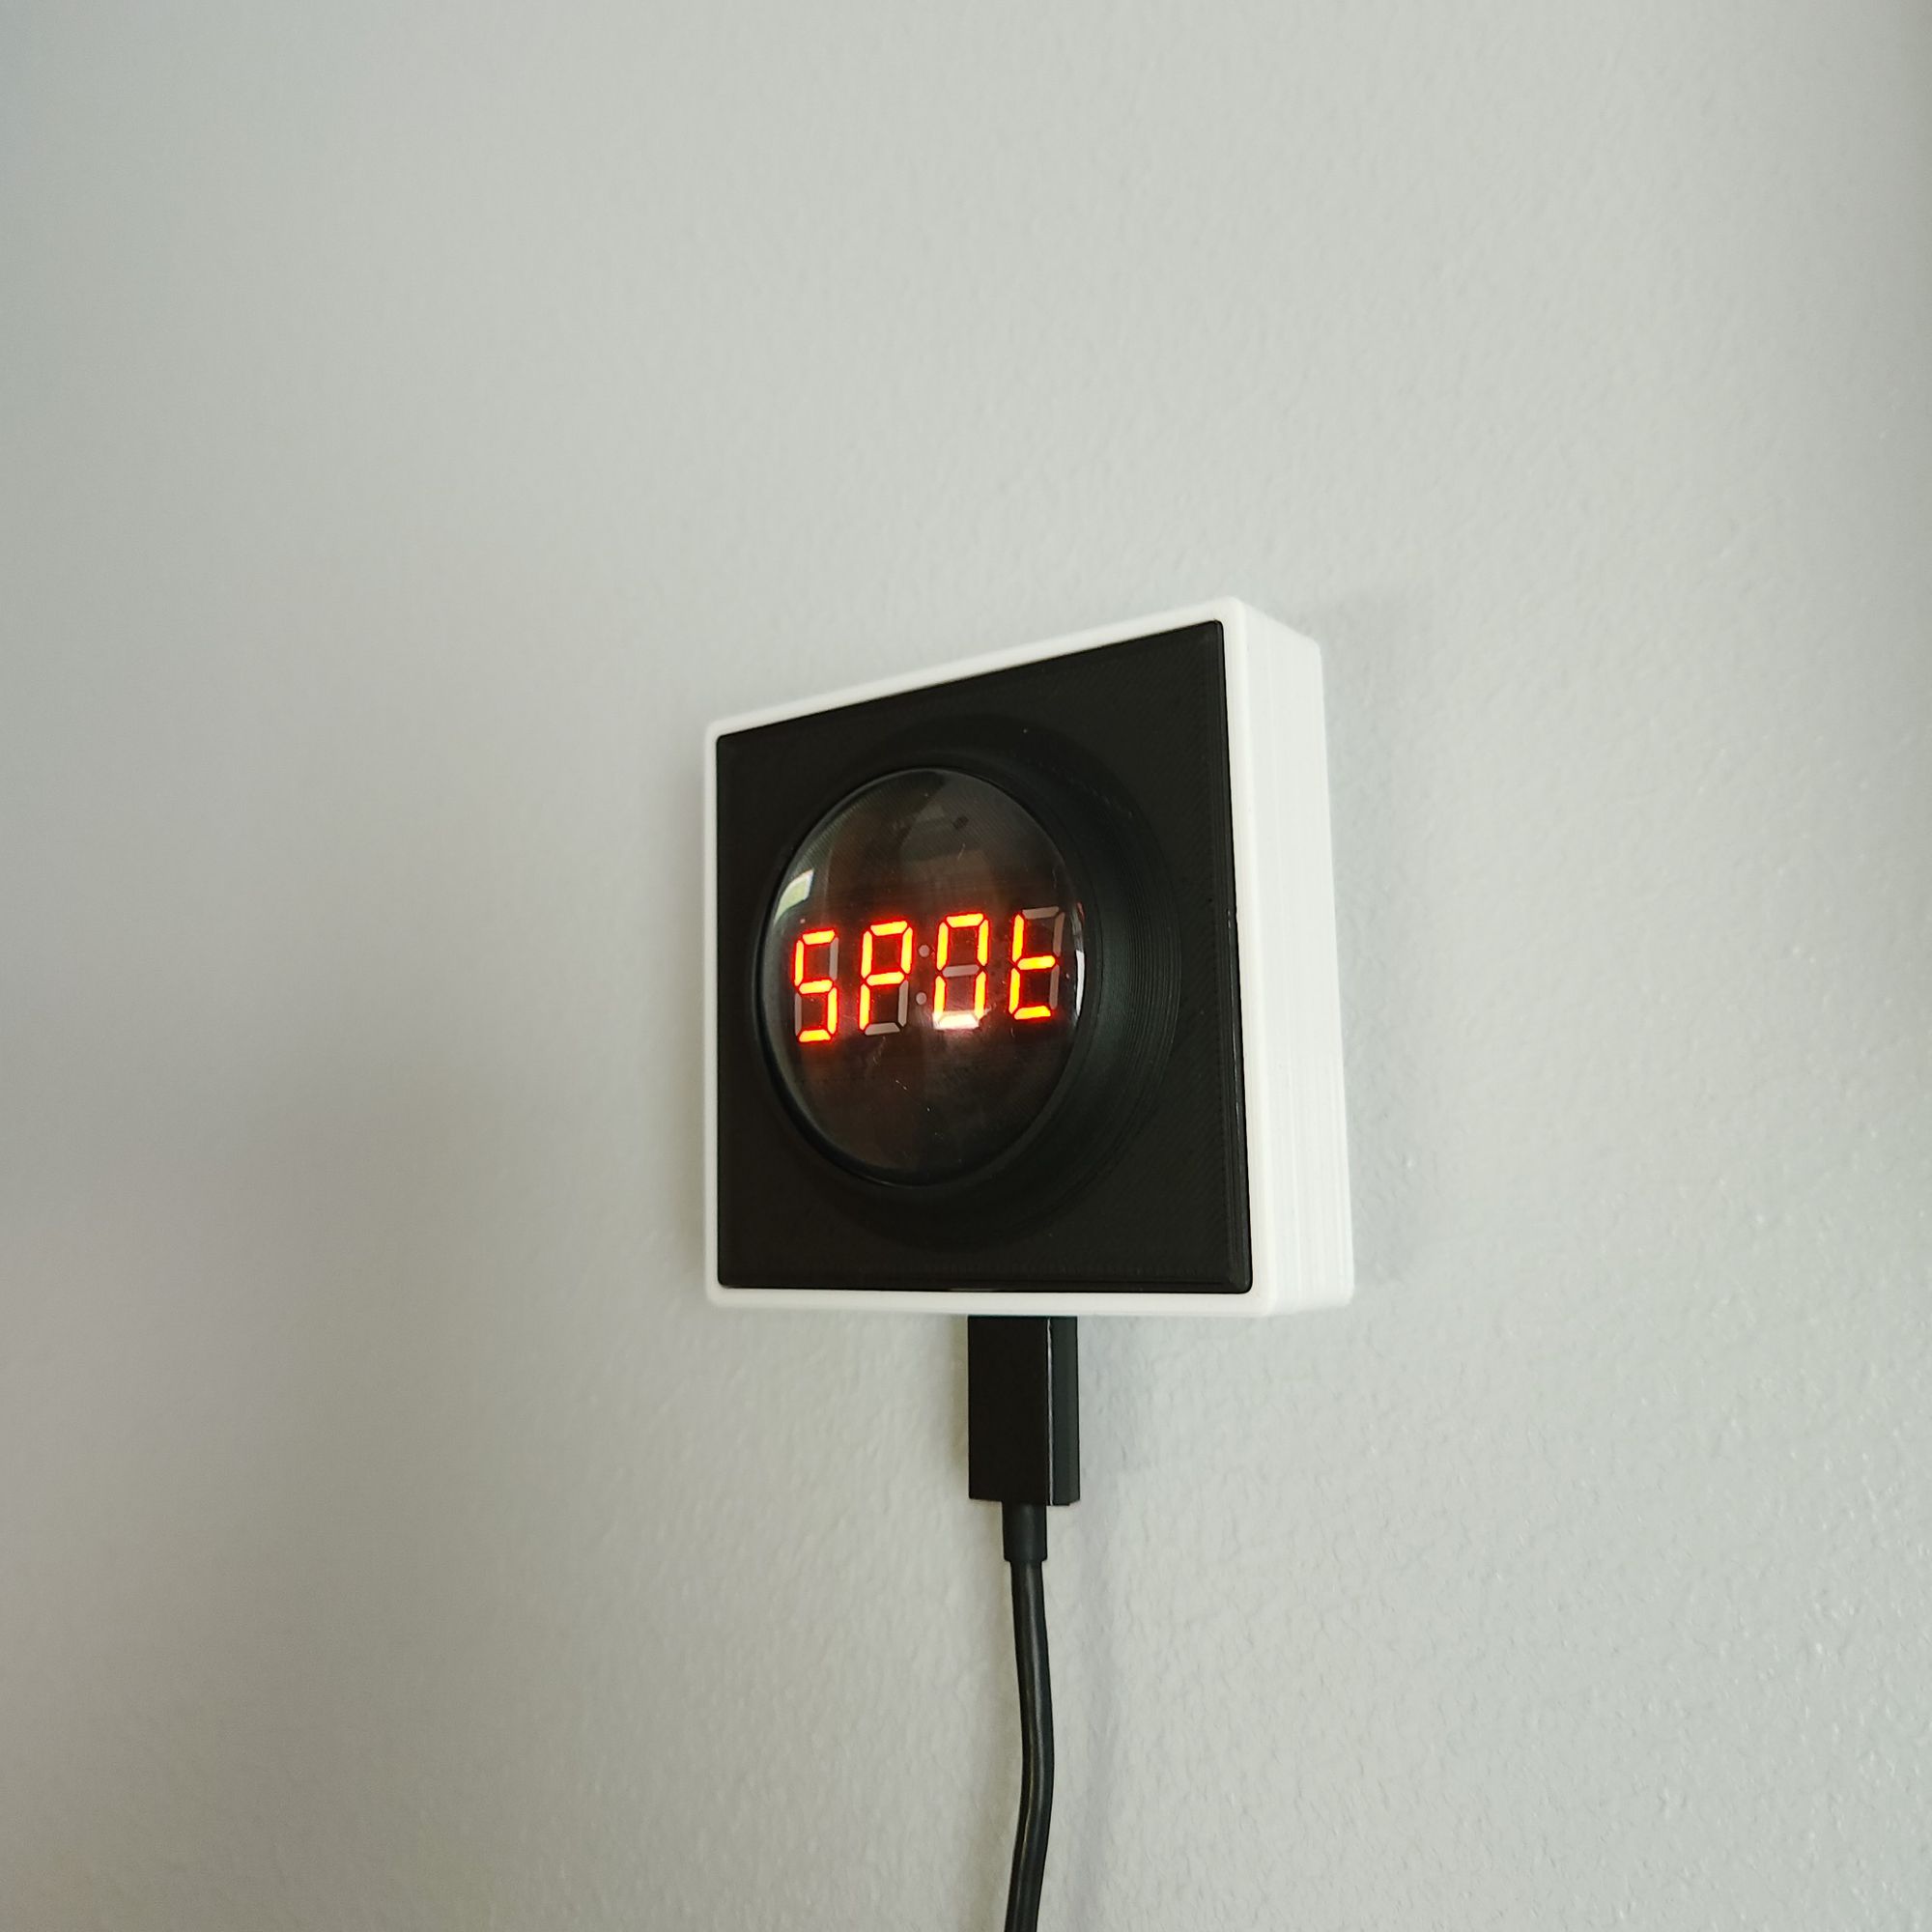
Picoclock - Smart Desktop/Wall Clock Display
RPi Pico W powered customizable smart clock display with 3D printable case. Can be mounted on a wall. Desktop stand also available.

As soon I installed solar panels on top of my house, I was interested in seeing more information about the panel power output as well as current electricity price (spot price) of the current hour. Even though I'm not yet that keen to optimize my daily actions but still knowing these numbers may eventually guide me to use household devices when sun is shining, and electricity price is low. I also might be tempted to turn off devices when electricity price is high so that produced energy would be sold back to the grid for high price.
So, the problem was how to build a device that is always on and able to show real-time data from internet services and would look nice so it could be placed in a visible place in the house.
I chose Raspberry Pico W as the microcontroller as that has WLAN for internet connectivity, can be programmed easily with MicroPython and it's easy to hook it up with TM1637 driven 4-digit display. I chose the small display just because I happened to have few of those in my drawers - another reason is that it fits nicely in the same case that I have used for Pikku Dial and Pikku Macropad.
TL;DR: GitHub link for code and Printables.com link for STL files
Bill of Material
Required components to build Picoclock:
- Raspberry Pico W
- 4-digit LED display with TM1637 driver (used these from Amazon.de)
- 3D printed case
- 42mm lens (used something like this from Aliexpress)
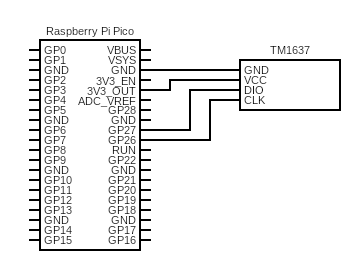
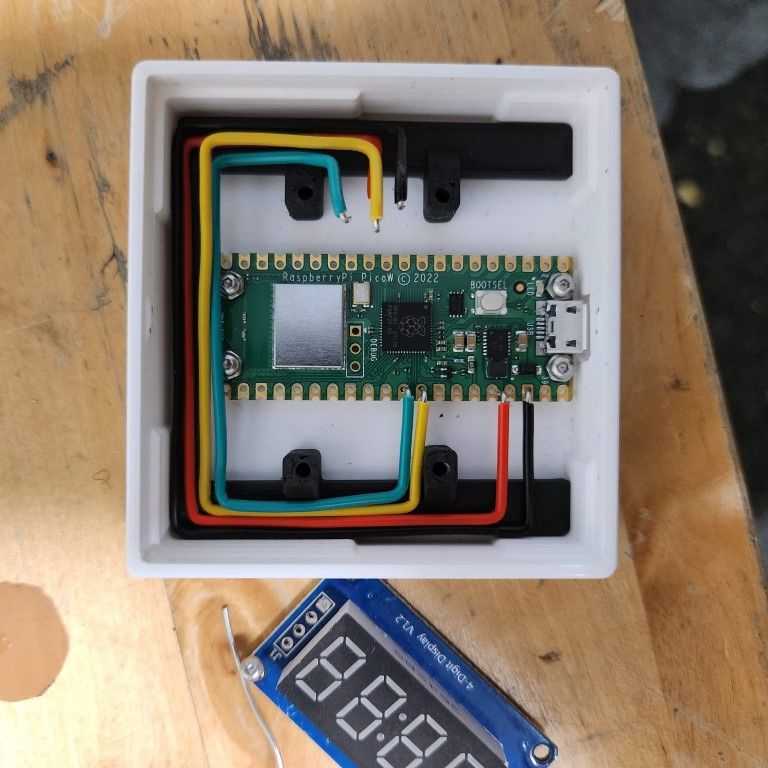
Schematics
As Pico can be powered with USB cable then the only wires needed are for display. TM1637 only requires four wires: VCC, Ground, Data, Clock.
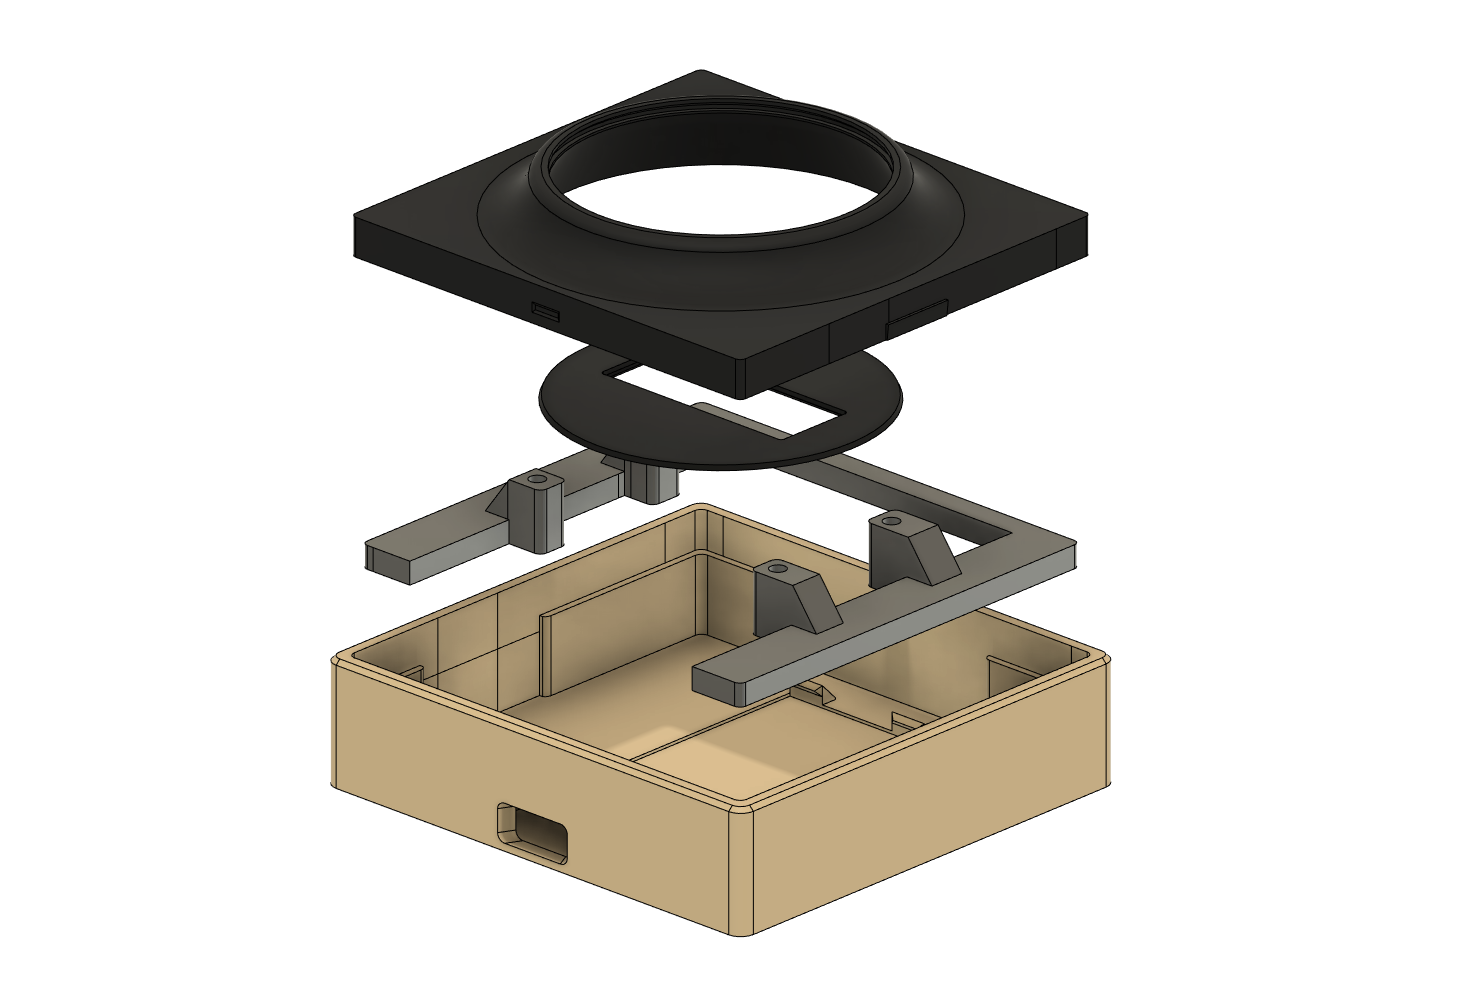
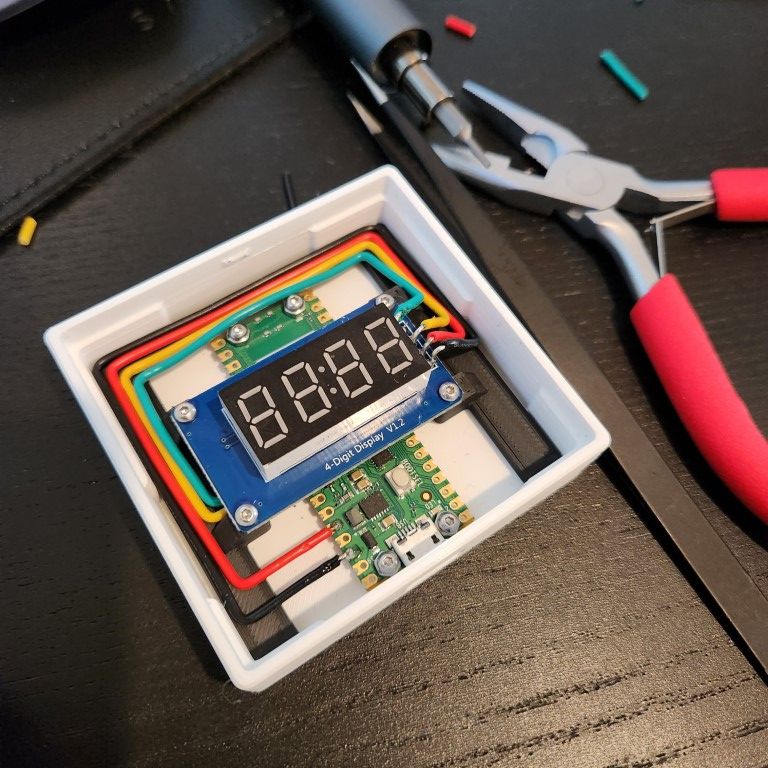
3D Printed Case
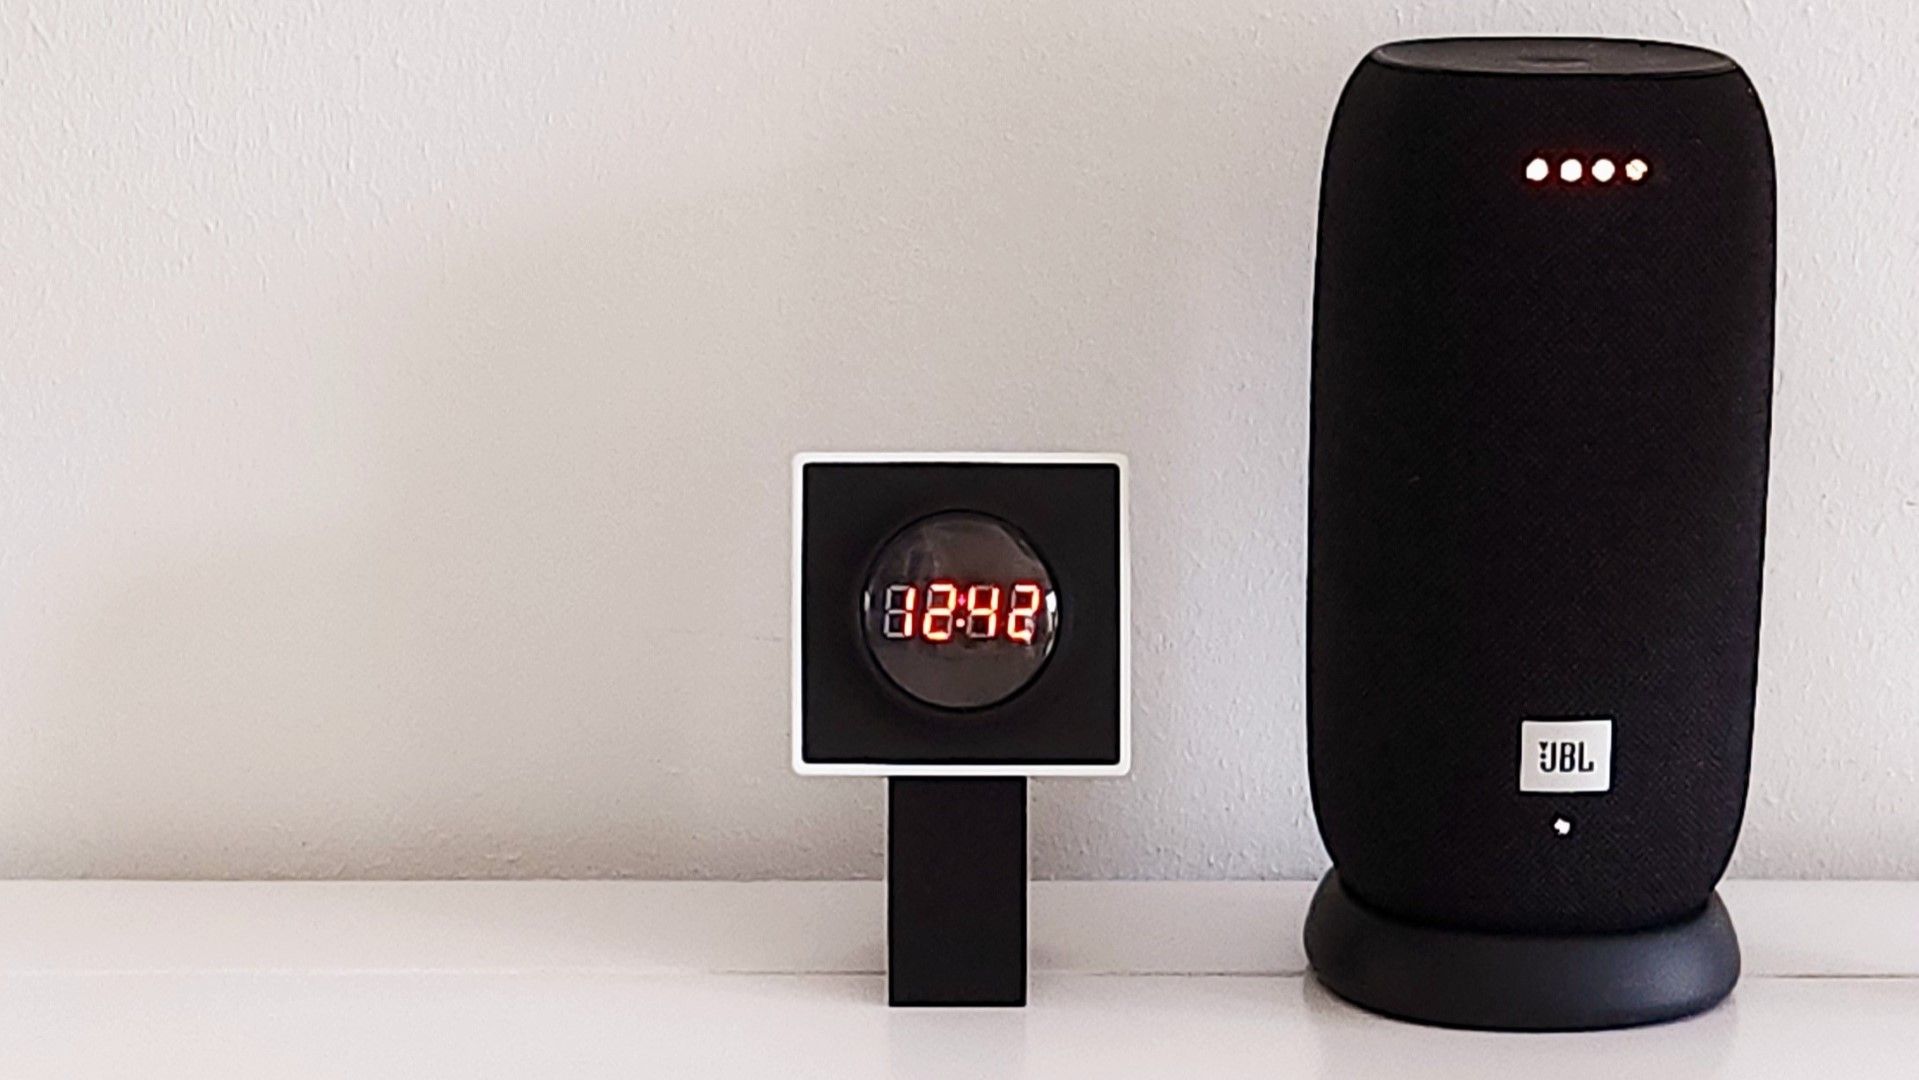
The base layer of the case is the same as in my Pikku controllers, Pikku Dial and Pikku Macropad. It fits the RPi Pico nicely and can different configurations on top of it. I designed a holder for 4-digit display and added a front panel with a slot for a glass lens to give it a retro futuristic look. I used 42mm lens from this Aliexpress seller. I used M2 screws to screw in the display component on the second layer. The display cover and top layer should snap fit to the case so glue is not necessary. I did glue up the gray U-shaped second layer component to the base for firm fit.
Python Code
You can check the full source code from GitHub. Remember to rename config_example.py to config.py and replace the placeholder values with your wifi credentials. You can also get yourself a OpenWeatherMap.org API key from that site.
 tlaukkanen
HTTP client module (Micropython should have built-in client nowadays)
balloobFor TM1637 display I used this module:
mcauserMake it your own
Customize the code as you please and share what you make it to display! Join the conversation at Mastodon: